Check the kit
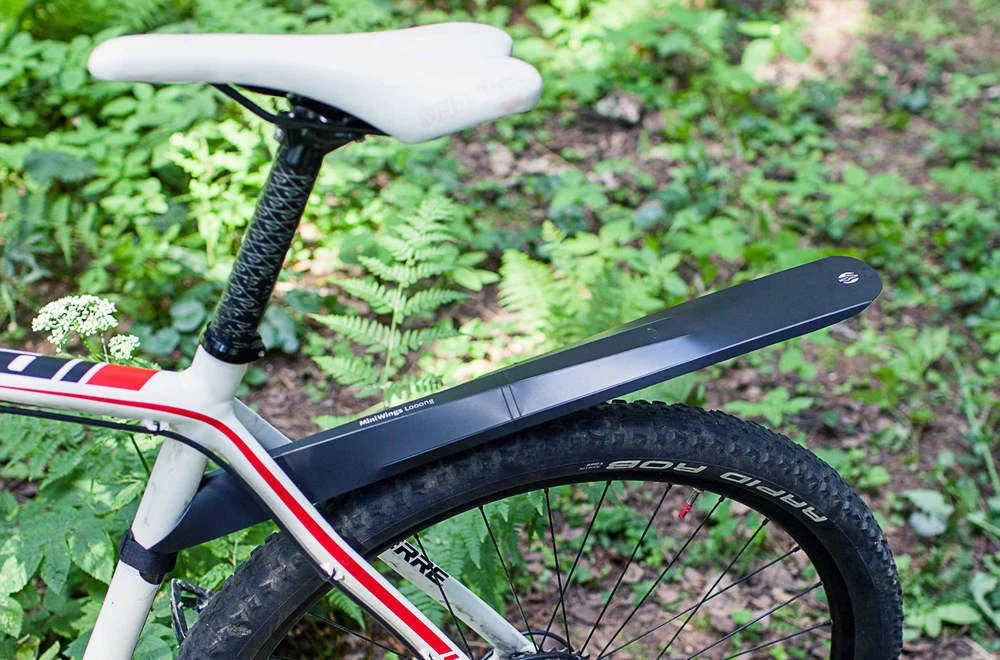
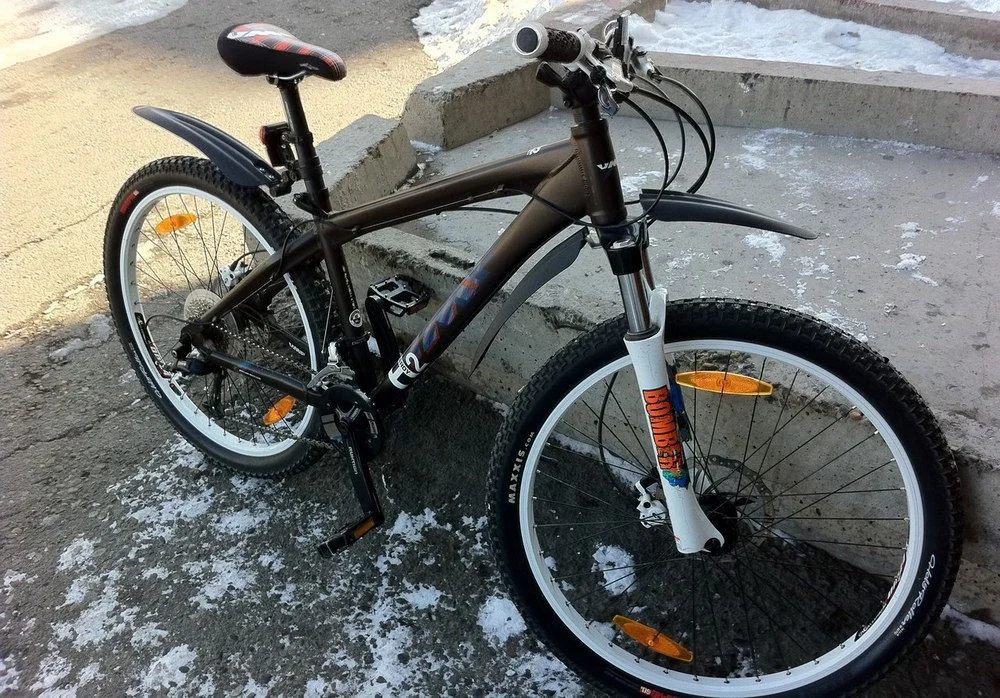
Establish wheel size, tyre width, mounting points and clearance requirements. Fixed and quick-release guards attach differently. Follow your own model’s instructions rather than choosing bolts from a picture of another bicycle.
Fasteners and brakes
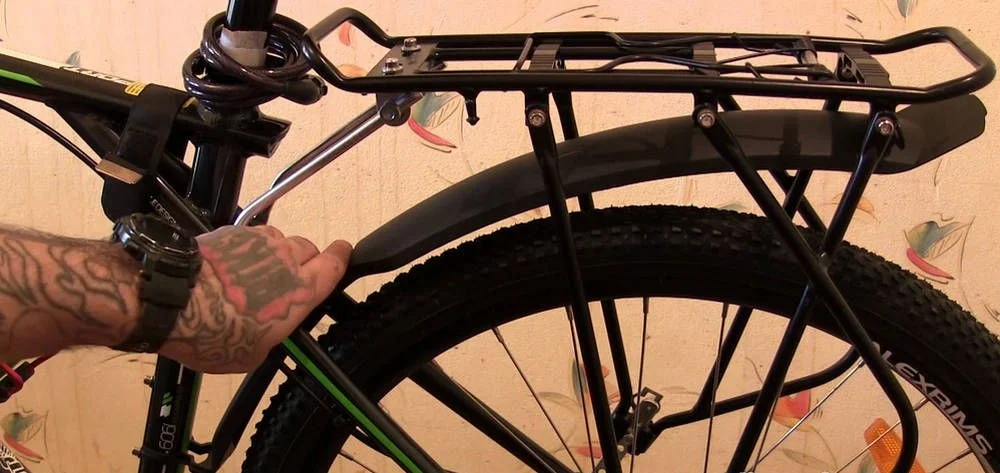
Use specified parts and tightening torques. Do not tighten to the maximum, drill frames or clamp carbon with unsuitable fittings. If a brake was opened for the work, restore and check it before riding. Reflectors and other required equipment must not disappear after installation.
Free rotation
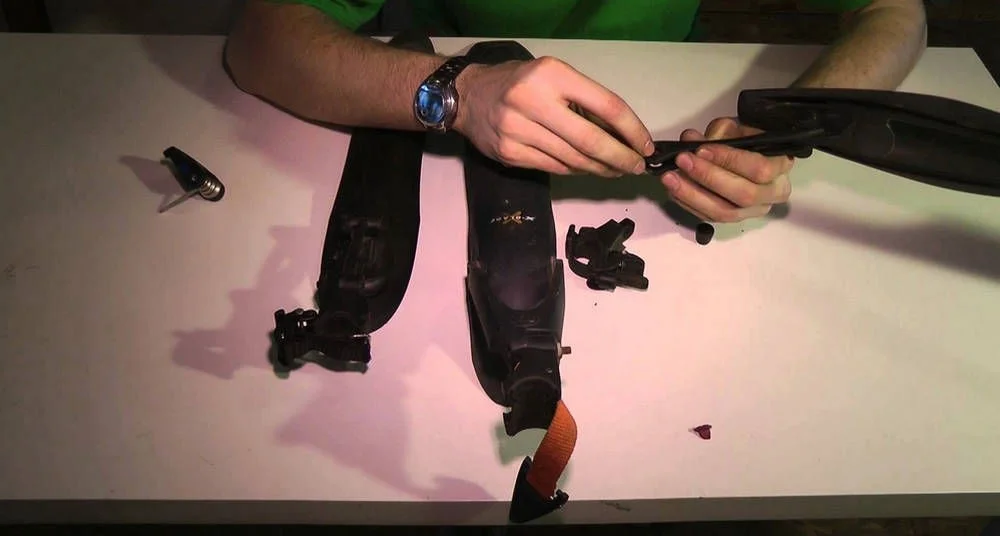
Maintain clearance specified by the guard and bike instructions, allowing for dirt, flex and suspension movement. Rotate the wheel, check steering and ensure no tyre contact. A guard positioned too close may jam the wheel when debris enters. Do not substitute random cable ties for intended fittings.
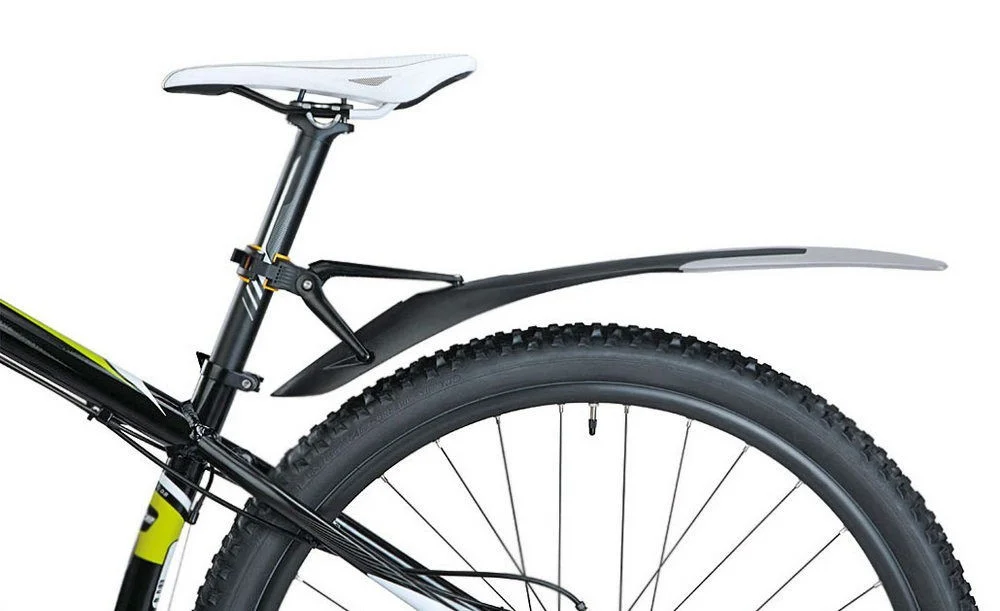
Quick-release designs
Check whether seatpost or fork mounting is permitted and that retention works. Full suspension and dropper posts require separate compatibility assessment. Check the stationary bike and take a short gentle ride, then inspect fasteners. Consult a workshop if uncertain: absence of rubbing in one position does not establish whole-system safety.