Build the kit around your equipment
A repair kit is for likely faults in your own setup, not for fixing everything imaginable. Inspect seams, buckles, poles, soles and valves before departure. Replace worn components at home; even suitable equipment can fail, so repairs cannot be ruled out entirely.
Separate personal and group supplies. Small scissors, a protected needle, strong thread, compatible patches, some repair tape and spare cord are often more useful than a large bag of random parts. Check adhesive shelf life and learn to use the materials beforehand.
Backpacks: buckles, webbing and fabric
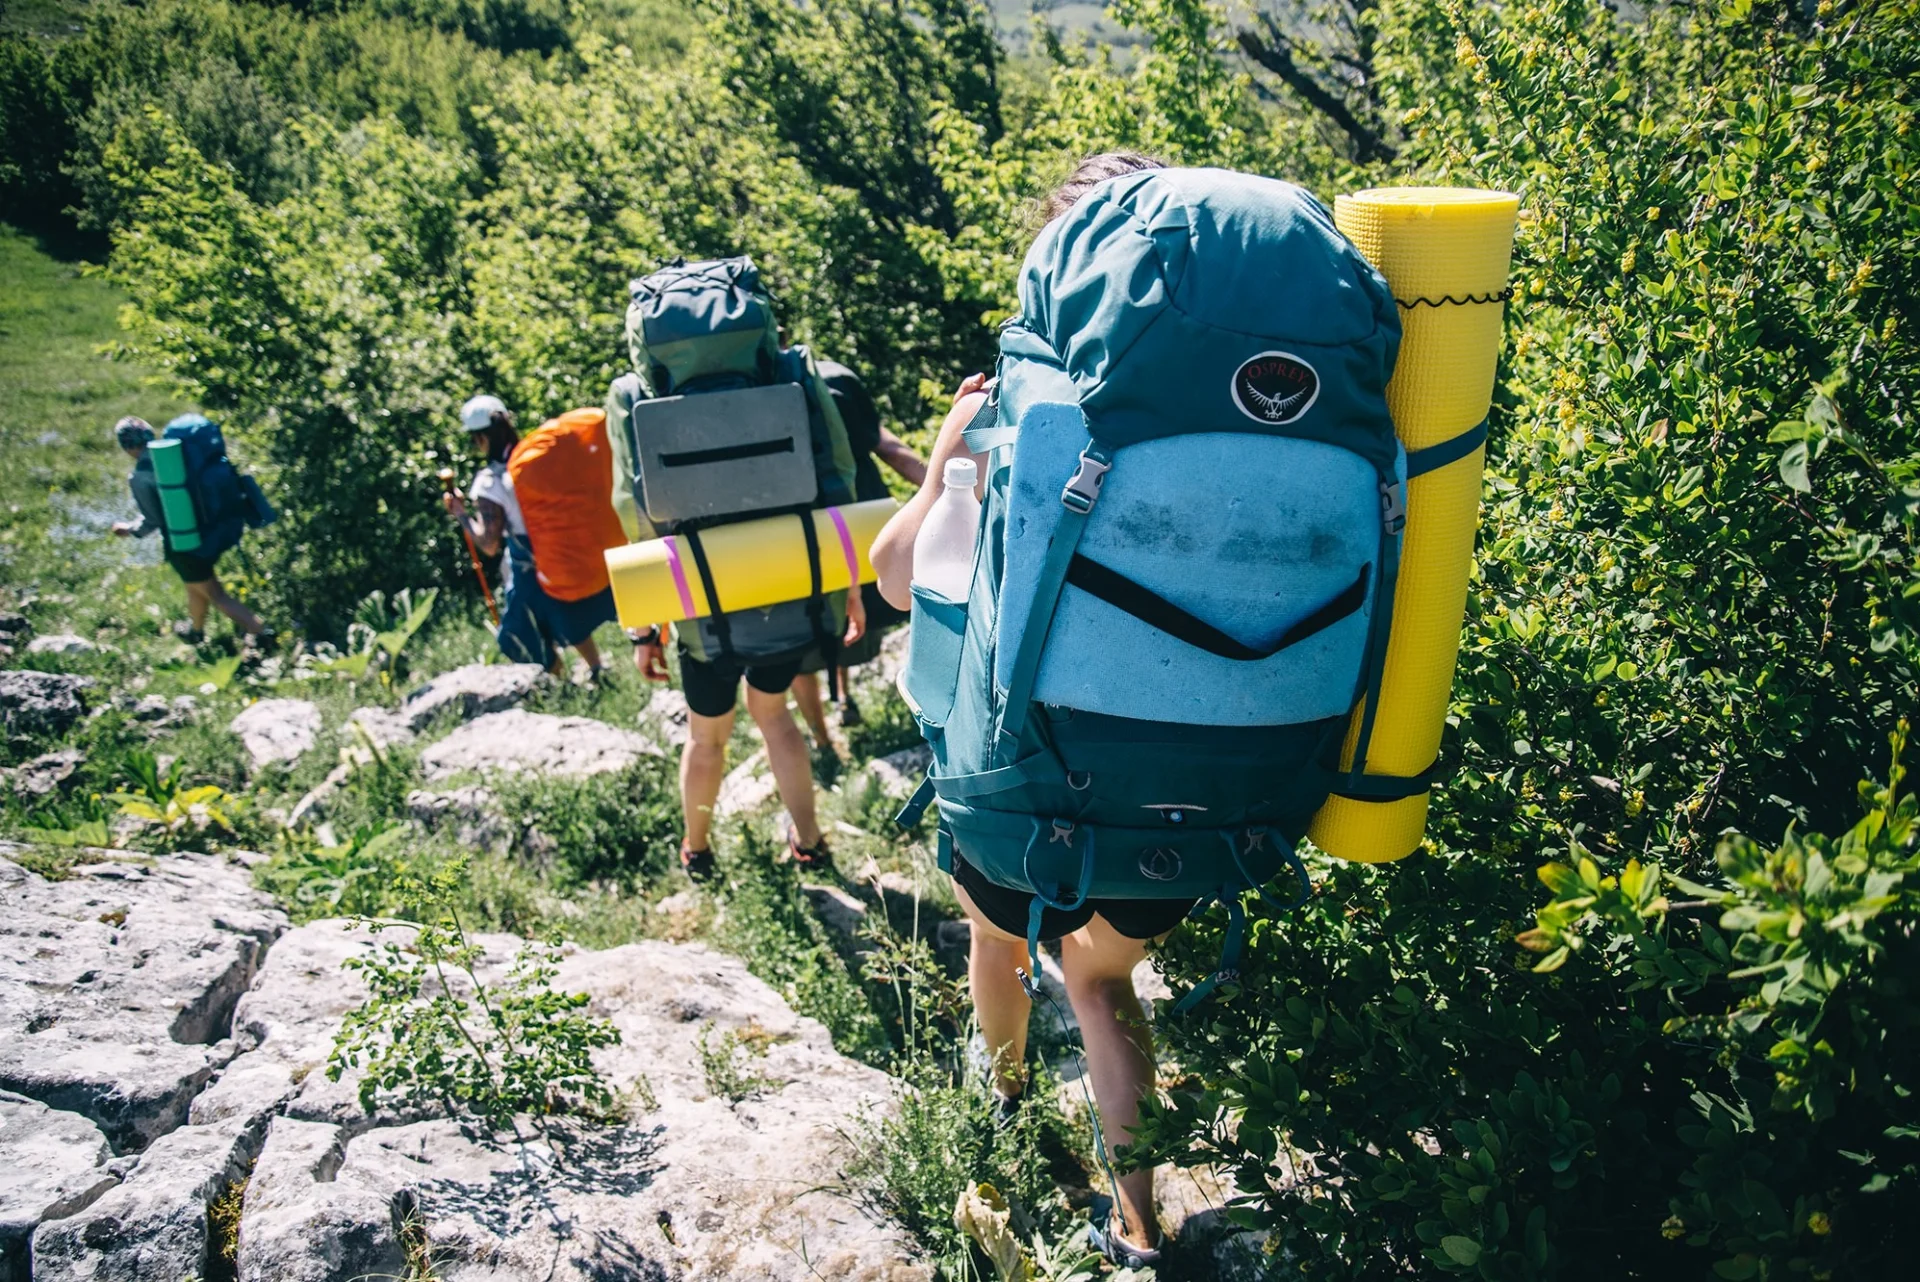
Carry a buckle of the correct width and design: a similar-looking part may not mate with the other half. A repair buckle that fits without unpicking stitching can be useful for a hip belt. Spare webbing must fit through your pack’s adjustment hardware.
A small tear can be covered temporarily with a suitable patch, but a damaged shoulder-strap attachment carries substantial load. After repairing it, reduce the load, check the stitching and assess whether to continue. Do not apply backpack repair techniques to a climbing harness or other life-safety equipment.
Tents and tarps
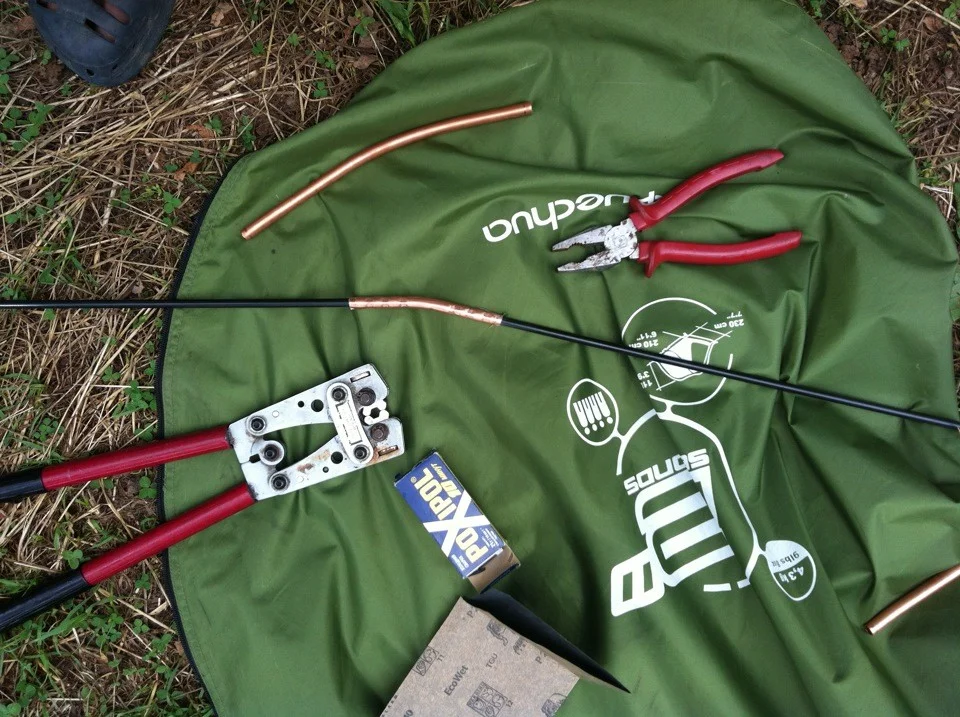
Choose a pole repair sleeve of the right diameter and study the tent instructions. Patches for the fly, floor and insect mesh may differ. Adhesives for silicone-treated fabric and other coatings are not always interchangeable: ordinary tape may adhere poorly or leave residue.
Prepare the surface as the repair material requires. Simply tightening a damaged guyline attachment is not a solution. Account for wind and loading when choosing camp after a temporary repair, and restore the component properly at home.
Inflatable sleeping mats
Check that the kit suits your mat’s material. Punctures, leaking valves and delamination are different faults; a universal patch does not fix every one. Locate and prepare a leak according to the manufacturer’s instructions, allowing for temperature and adhesive curing time.
Tape may help in some circumstances, but does not guarantee an airtight mat all night. On a cold route, losing insulation from the ground changes your sleeping arrangements: plan a fallback, not merely a way to cover the hole.
Sleeping bags, clothing and zips
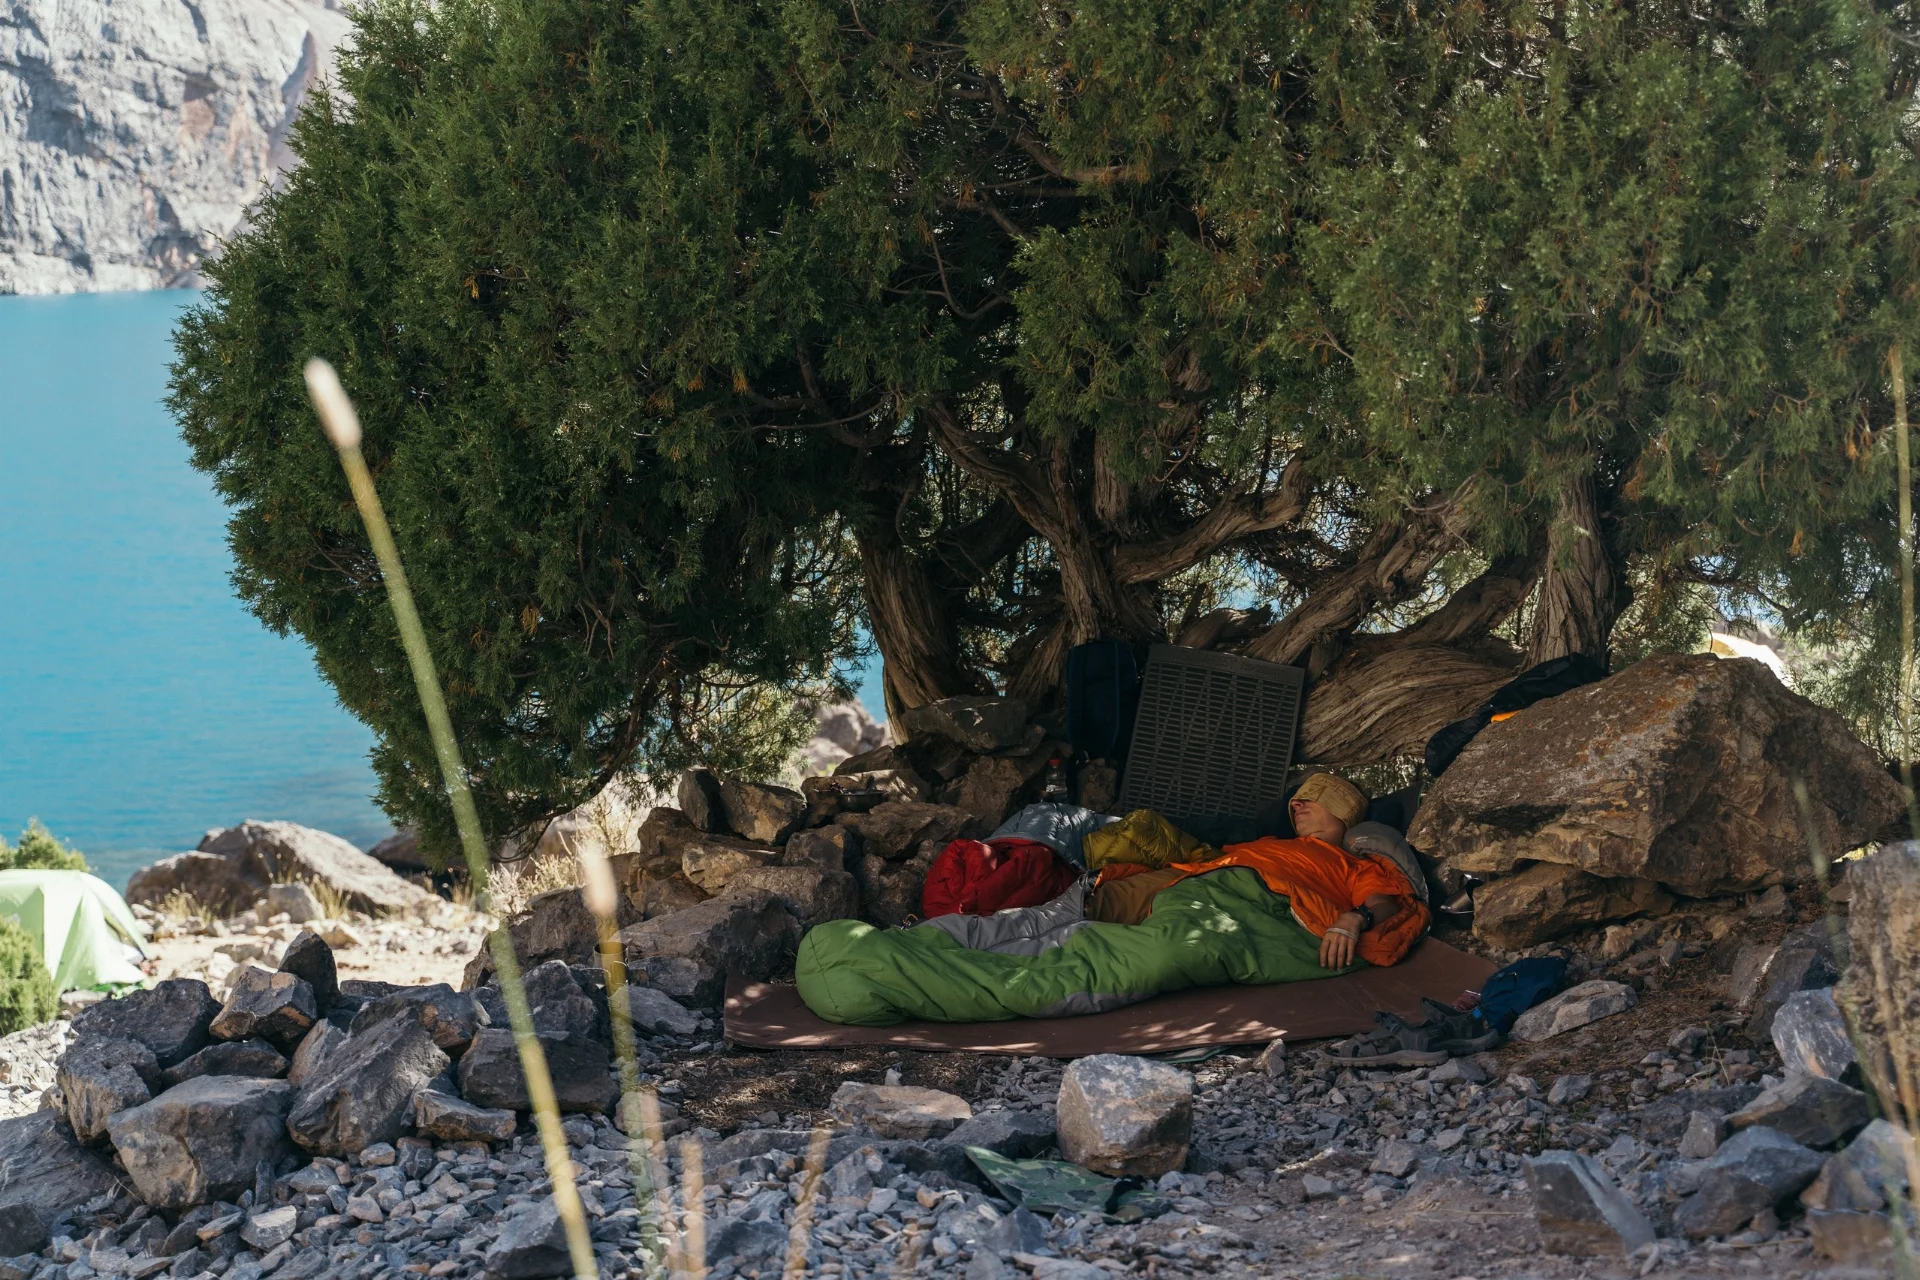
Compatible repair patches are convenient for small fabric tears; consider the material and item’s purpose before sewing. Do not fill a sleeping bag with exposed pins or stitch it shut in a way that makes getting out difficult. A temporary fix should not introduce another hazard.
If a zip jams, first check for trapped fabric or dirt in the teeth. Do not pull hard or squeeze the slider at random: you may break the fastening completely. Use lubrication and replacement parts as recommended by the manufacturer.
Footwear
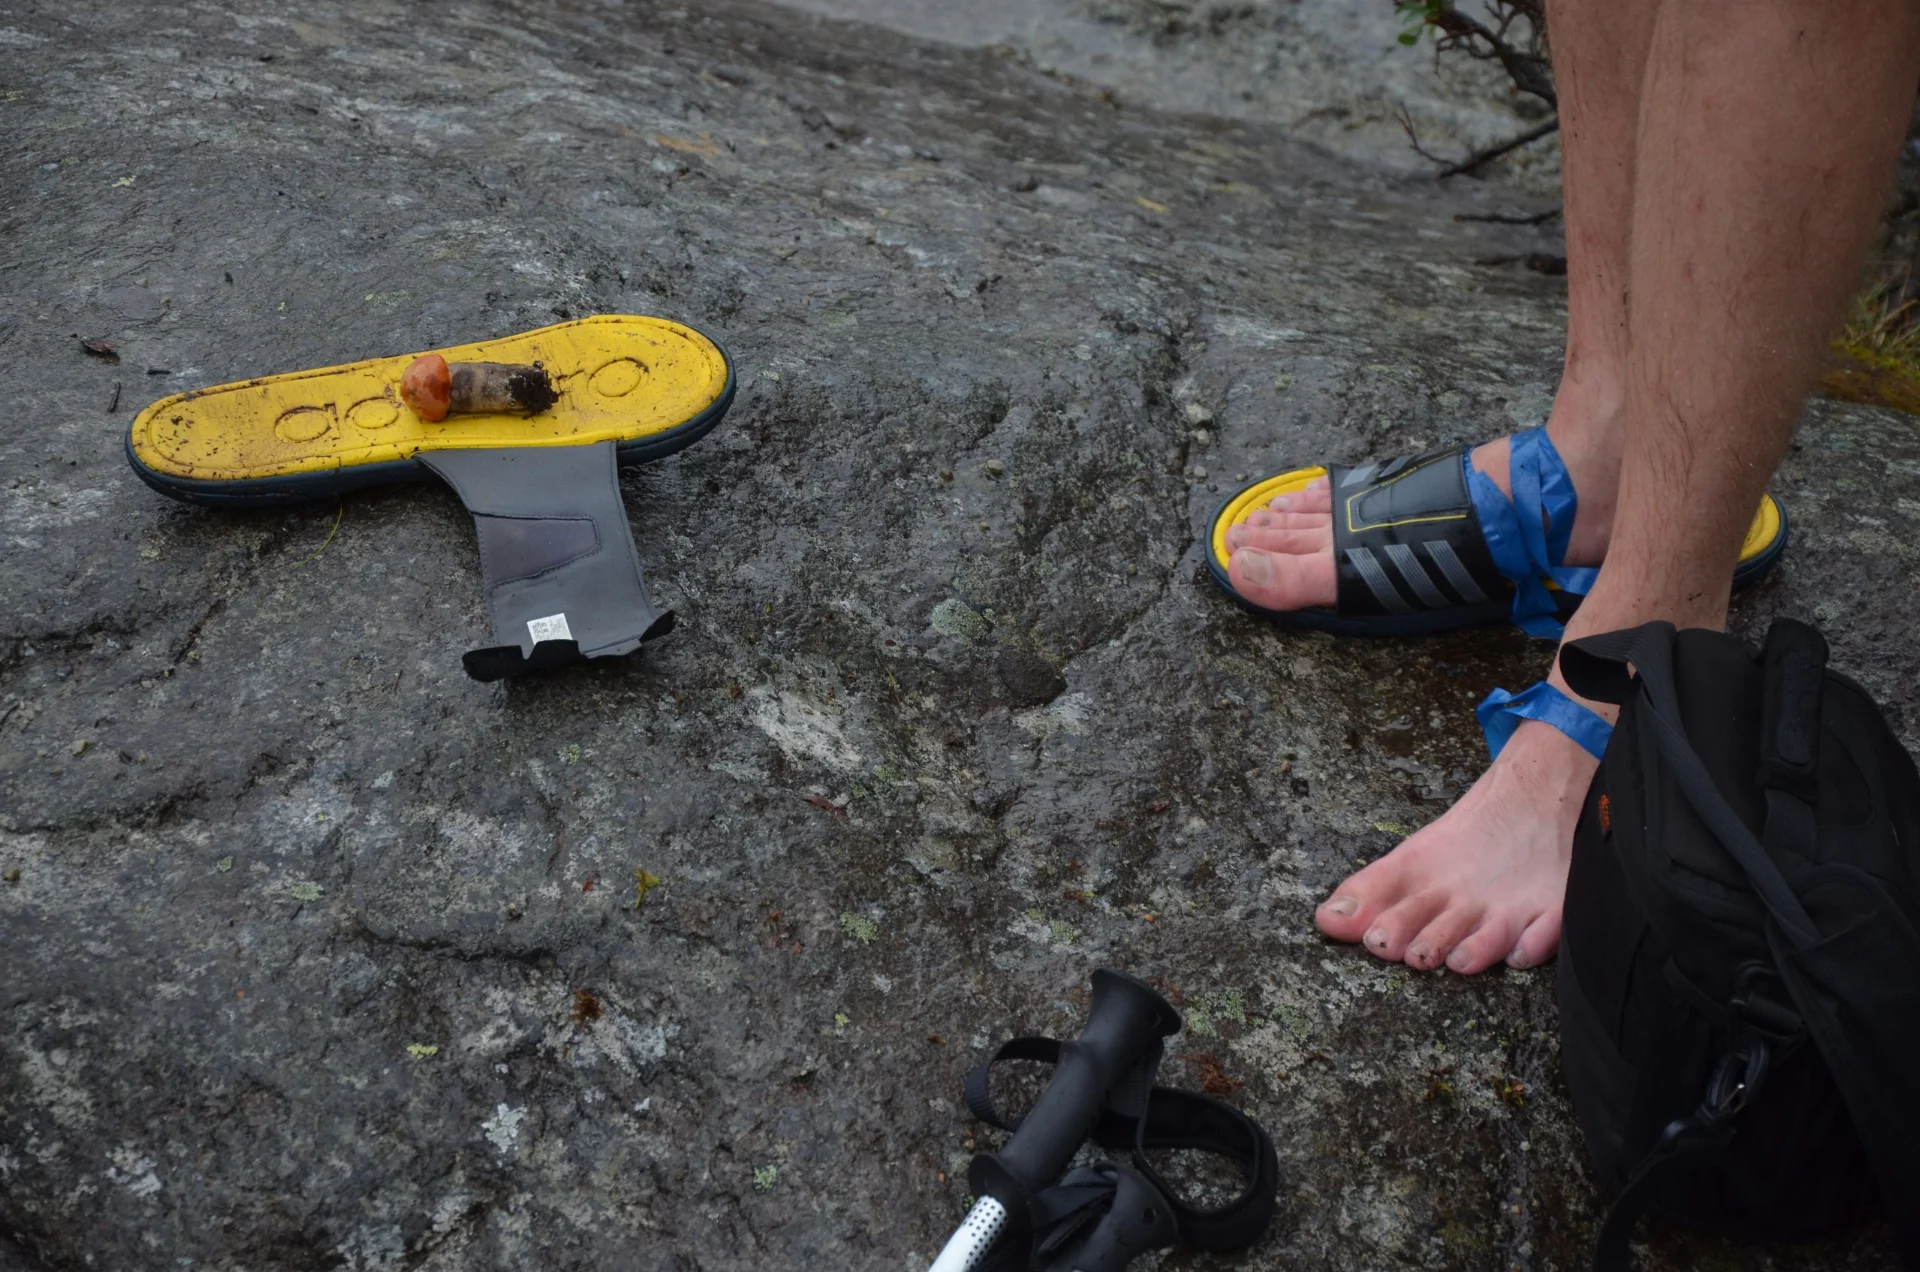
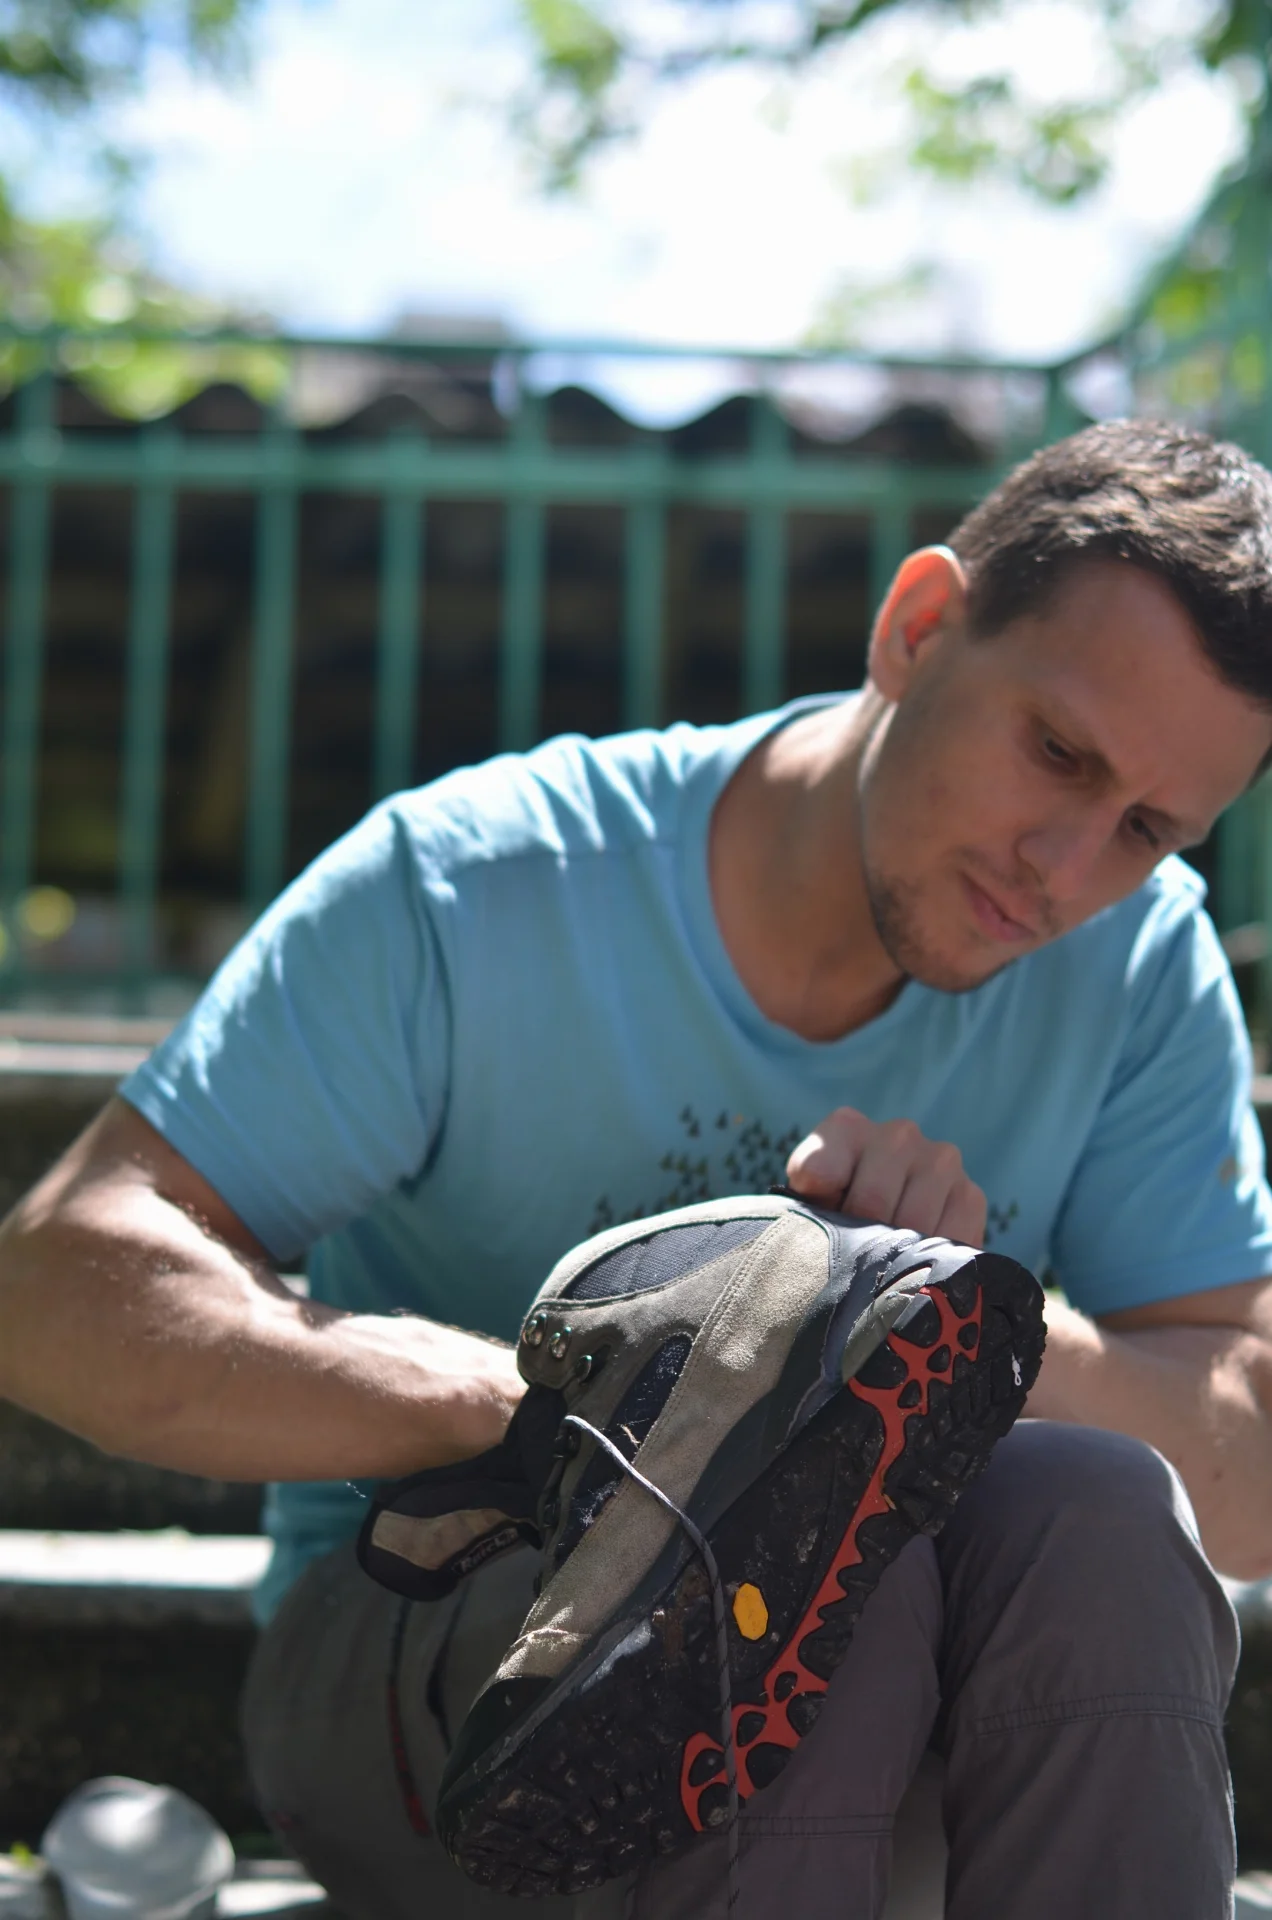
Inspect soles and their attachment to the uppers before setting off. Material deterioration sometimes becomes obvious only under load, making a trial walk important. Compatible shoe adhesive and tape can provide temporary support, but will not make a badly damaged boot new again.
Do not pierce the sole with wire or leave sharp parts inside footwear. If a repair affects stability or will not hold, reconsider the route. Drying boots close to a fire can damage materials and glued joints.
Stoves and specialist equipment
For a stove, carry only manufacturer-specified spare parts and tools you know how to use. A fuel leak, damaged hose or distorted body is a reason to stop using it. Random adhesives and tape are unsuitable for sealing a fuel system.
A boat, bicycle or other specialist equipment needs its own kit and relevant skills. Agree on backup meal arrangements and the option of ending the trip early. Keep the first-aid kit separate: repair supplies do not replace first-aid materials.
Check before packing
Check buckle and sleeve compatibility, adhesive condition, instructions and access to the kit without unpacking the entire rucksack. Secure sharp tools and adhesives. After returning, revisit every temporary repair and replenish consumables so the next trip does not begin with an empty tube.