
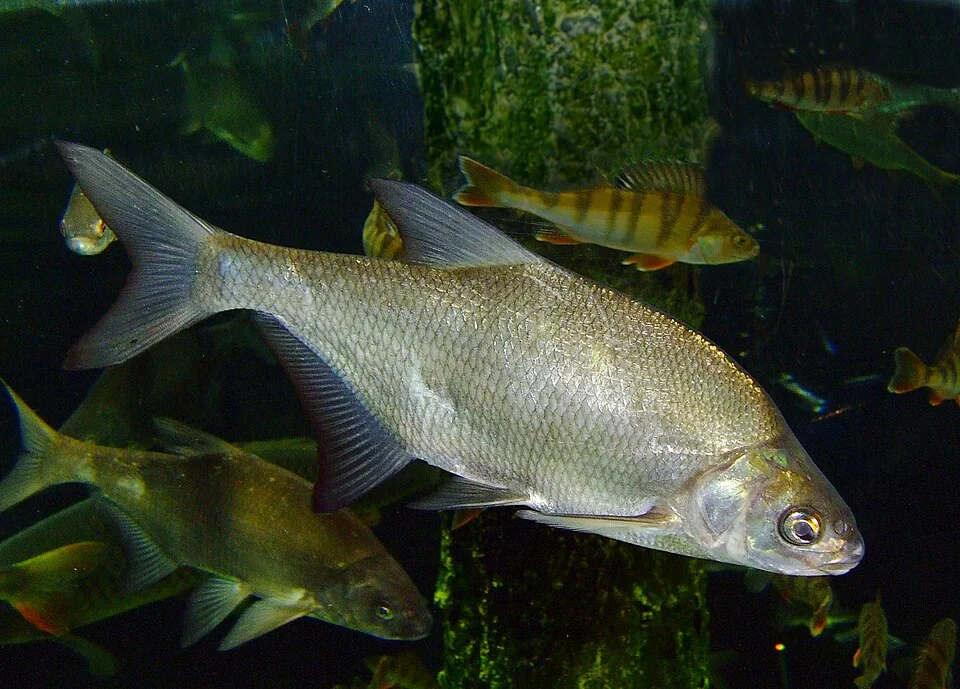
Mikova Natalia · Public domain · Original photo · Photo usage terms

Bream are non-predatory fish that require precise, repeatable presentation. Getting to know the species is best started with the waterbody conditions, the accessible fishing method and a short observation plan. This way preparation does not reduce to a random selection of baits.
What to pay attention to
Where to start looking
Survey cues: calmer sections near a change in depth. This is an initial hint, not a confirmed holding spot. Rivers, lakes and reservoirs with soft or mixed bottoms.
Presentation for the conditions
It is useful to focus on one clear distance and watch the state of the bait. Choose feeder and float according to the current and distance; keep an eye on precise groundbaiting. Match the recommendation with your own tackle capabilities and the available space on the bank.
First observations
Record distance, presentation depth and contact times. Compare neighboring accessible points rather than judging the whole waterbody after a single cast. Lack of a bite doesn’t prove the species is absent, but it isn’t a reason to endlessly feed at random.
Work with the conditions you see
Record observations together with time, location, and presentation method. Change one variable at a time; otherwise it’s unclear what produced the result. A short note after the trip is more useful than a rushed conclusion about the entire body of water: water level, lighting and fish activity can shift even within a single day.
Practical summary
Prepare your landing net and tools before you start fishing. Read more about the species and its habitat in our guide: bream. Activity dates in the calendar are guidelines, and the current rules for the specific waterbody should be checked separately.
Next step: open the angler’s calendar and the map of spots, to link the recommendations with a specific outing. Check current access to the chosen area before you go.