
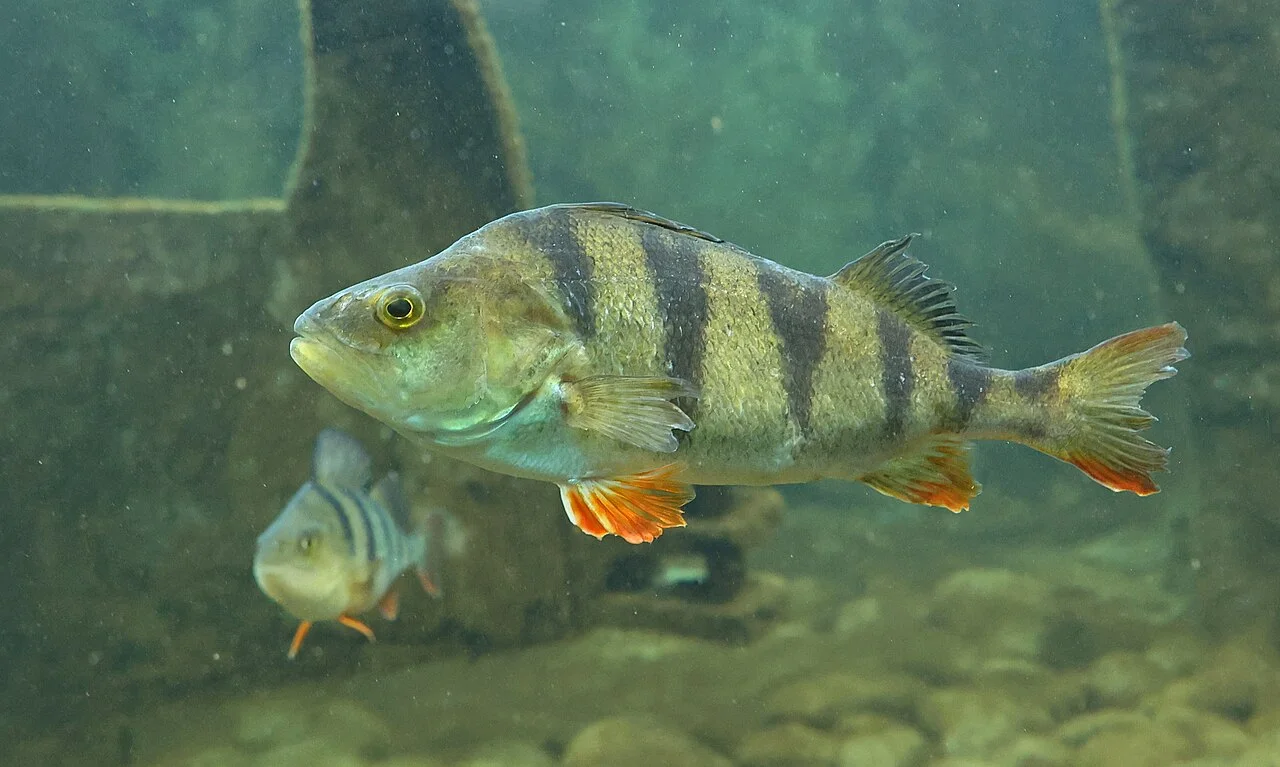
George Chernilevsky · Public domain · Original photo · Photo usage terms

When you plan to fish for a species like perch, it’s useful to separate locating a spot from checking your gear. A step‑by‑step analysis helps understand the cause of silence and avoid changing the entire setup at once.
What to look at
Check the basics
Inspect the hook, leader and the rig position after a retrieve. Make sure the presentation really occurs in the chosen depth and that the bait or lure isn’t hidden by vegetation. Verify the gear’s functionality before adding new, more complex elements.
Compare two points
Examine the edge of vegetation, hard-bottom areas and shoreline depth changes. For this species it’s appropriate to compare lure size and retrieve tempo without a drastic change of the whole kit. Keep one presentation unchanged over several casts to have a basis for comparison. Don’t pick a new spot at the cost of a risky approach to the water.
Keep a short log
Note exactly what you changed: distance, retrieve depth, bait or retrieve speed. Record not only successful results but also mistakes, snags and time spent. After a few trips such notes will let you distinguish a repeatable technique from a one‑off coincidence.
Work with the conditions you see
Record observations together with time, location, and presentation method. Change one variable at a time; otherwise it’s unclear what produced the result. A short note after the trip is more useful than a rushed conclusion about the entire body of water: water level, lighting and fish activity can shift even within a single day.
Practical summary
Quiet on one section doesn’t demand an immediate purchase of a new kit. A schooling fish: if you find one, examine the area carefully. Pay attention to visible conditions, choose accessible spots and finish the outing with enough time for the drive home.
Next step: open the angler’s calendar and the location map, to link the recommendations with a specific outing. Check current access to the chosen area before you go.