
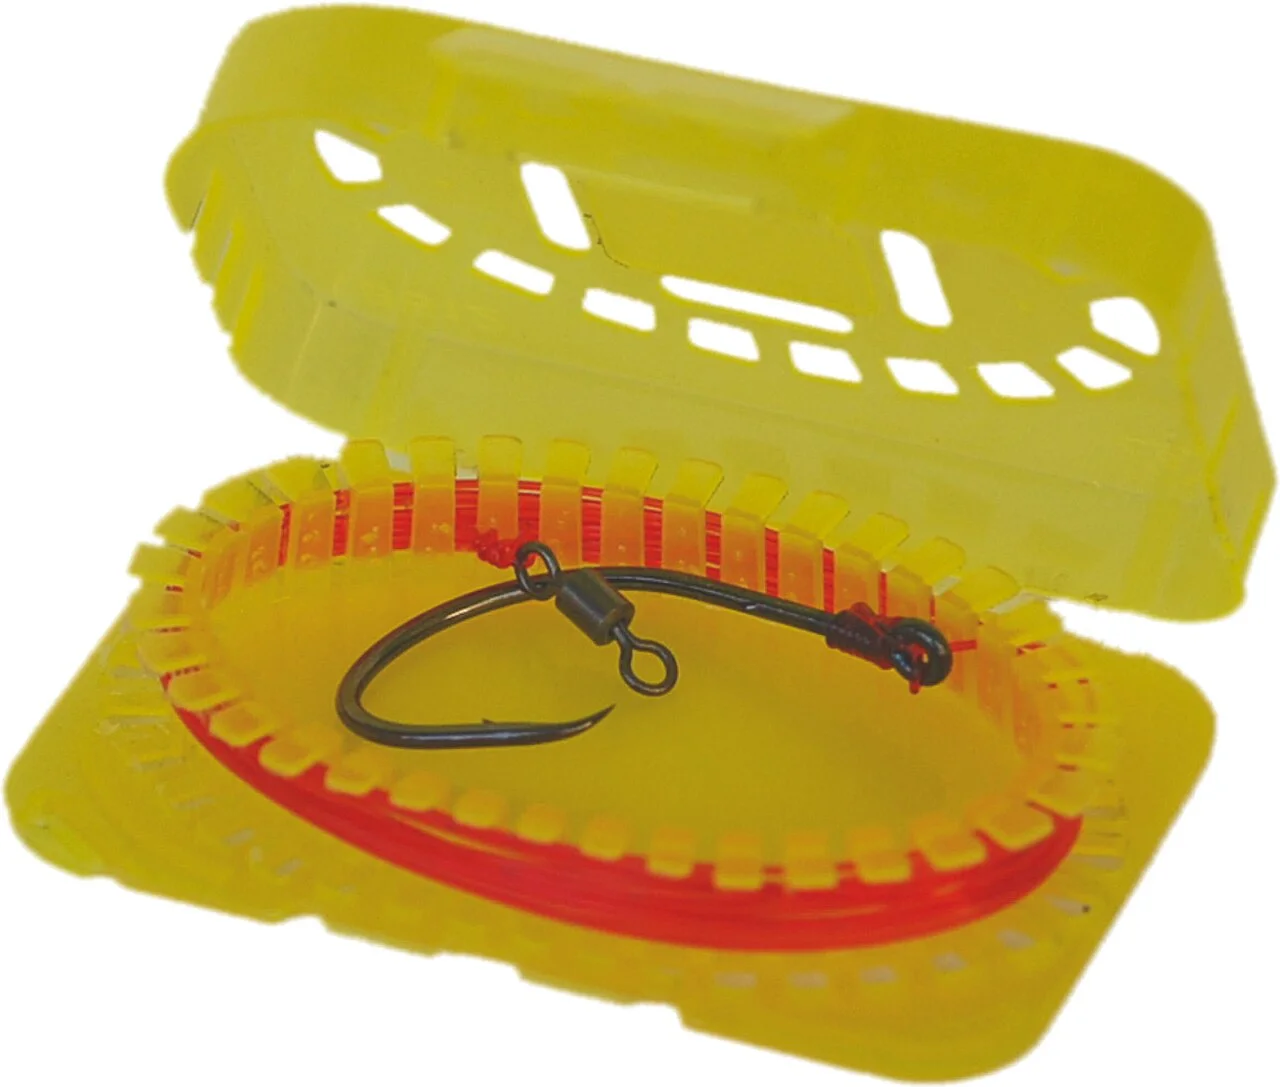
Editorial illustration SNASTI.NET.
A small organizer can be made from a sturdy box with a reliable lid. It is important not to decorate it, but to separate the small items so they do not get mixed during travel and do not damage the gear.
What to pay attention to
Separate compartments
Store snaps, swivels and spare parts by type and size. Dividers should not have sharp edges. Check that the smallest elements do not slip under the lid between adjacent cells.
Markings
Label the sizes and purpose of the compartments. Leave a small reserve for consumables, but do not turn the box into a season‑long warehouse. Items you handle with wet hands should be easy to remove.
Test in the backpack
Close the filled organizer and gently shake it over a table. Check the latches after several openings. If the lid is unreliable, replace the box: an extra cord will not make fragile plastic sturdy.
Check this in calm conditions
Try a new technique or set of items first at home or on a short accessible route. Determine in advance what should work without prompting and what requires practice. After returning, note one or two specific changes for the next trip. This way the kit gradually adapts to your conditions, and decisions are based on your own observations rather than only on others’ lists.
Practical summary
The homemade organizer should save time on the shore. After two or three trips, reallocate compartments according to real needs and remove unnecessary duplicates.
Next step: open the preparation checklist and the map of locations, to link the recommendations with a specific trip. Check current access to the chosen area before heading out.