
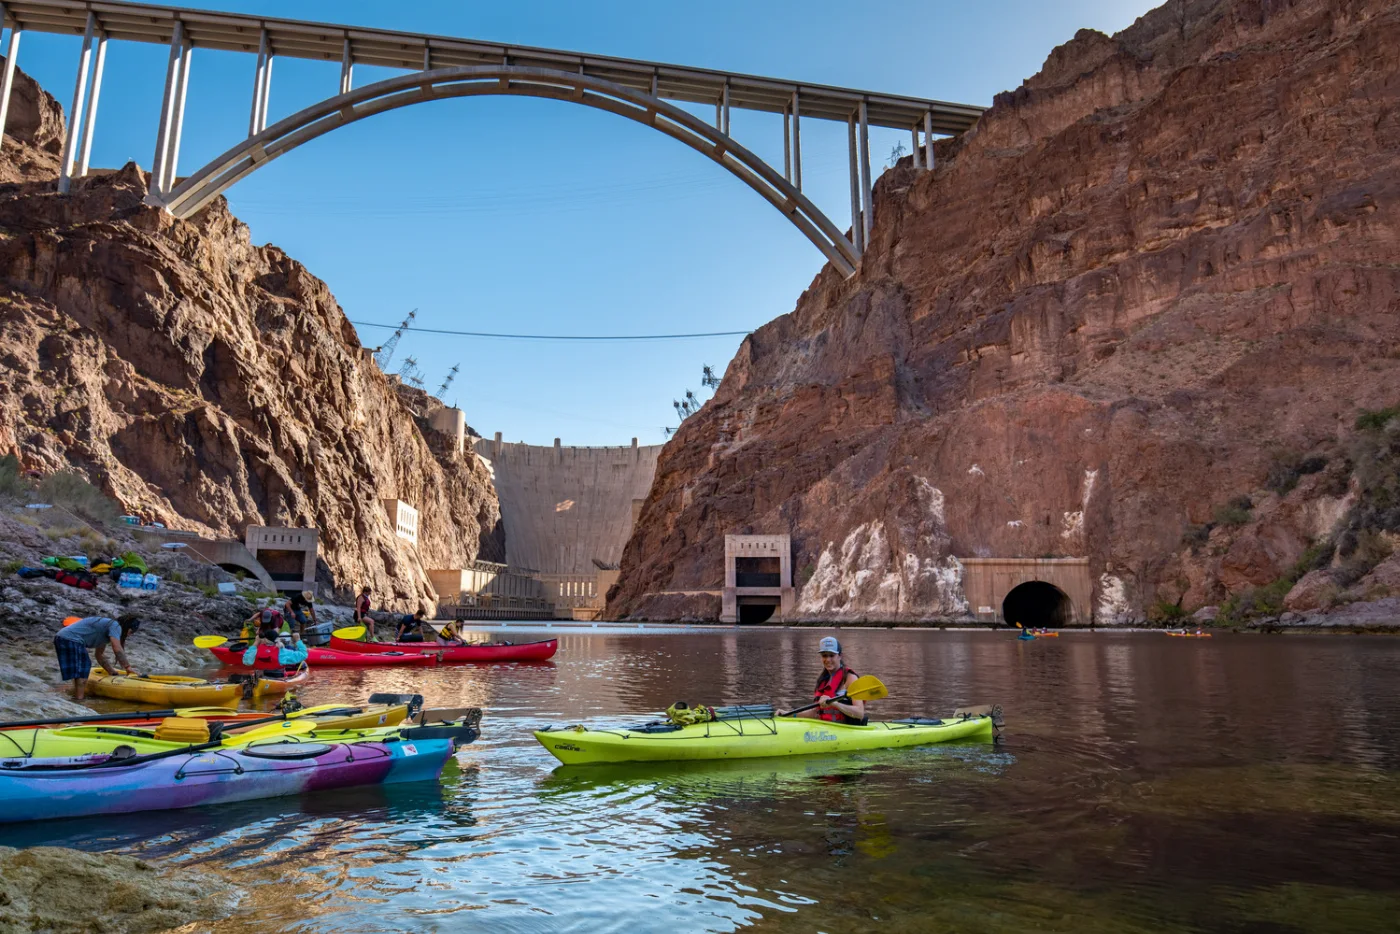
Illustrative photo: kayak on the Colorado River, USA. NPS / Andrew Cattoir · Public domain. Original photo
Start your first kayak outing with a briefing and a simple, agreed-upon route. The rental staff should help you choose the gear and explain where you can go and how to return without unnecessary haste.
What to pay attention to
Gear sized correctly
Ask how to adjust the life jacket, footrests and seat. Sit in the kayak on the shore and make sure your movements are not restricted. The jacket must be worn and fastened, not left beside your belongings.
Route limits
Ask about the current, open sections, permitted landing points and any areas to avoid. Find out under which weather conditions the rental operator cancels trips. Estimate the distance together with the return, not just one‑way.
Contact with shore
Find out how to report a delay and where the kayak must be returned. Pack the phone and keys separately from the items you frequently retrieve. Do not test a waterproof case with important documents inside.
Check water conditions first
Proximity to shore alone does not make the outing easy: wind, current and other vessels change the situation. Before starting, agree on the boundaries of the trip, the return point and actions if the weather changes. For a first outing, choose organized instruction and gear selected by an instructor. Do not automatically transfer experience from a calm inlet to an open water body.
Practical summary
A clear briefing and reliable gear are more important than the cheapest rate. If any explanations remain unclear, clarify them before getting on the water.
Next step: open the catalog of locations and rentals and the map of sites, to match the recommendations with a specific outing. Check current access to the chosen area before you set off.