
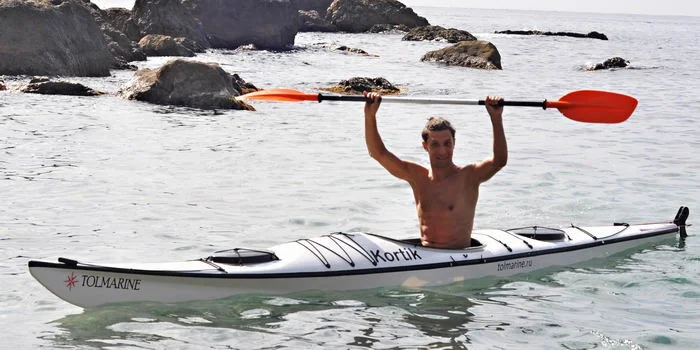
Illustrative photo: kayak on the Colorado River, USA. NPS / Andrew Cattoir · Public domain. Original photo
In a kayak, gear must stay dry and not interfere with seating or paddle work. For a short trip, several compact packs are more useful than one large bag with all the equipment.
What to watch for
Two levels of access
Place items you’ll need on shore deeper in the kayak. Keep water, sun protection and small essentials in an easily reachable spot. Confirm the mounting method during the briefing: extra loops and long cords should not hinder movement.
Check the dry bag
Inspect seams and closures, seal the bag according to the manufacturer’s instructions and test it with a spare piece of fabric. Separate wet clothing from dry items. A regular sack inside a backpack does not replace proper waterproof protection.
Cargo placement
Follow the rental operator’s recommendations for balance and maximum load. Do not place heavy objects where they can shift while moving. Free access to the cockpit exit is more important than the convenience of a large bag.
First, check water conditions
Proximity to shore alone does not make a launch easy: wind, current and other vessels change the situation. Before setting off, agree on the trip limits, return point and actions if the weather changes. For a new activity, choose organized instruction and gear selected by an instructor. Do not automatically transfer experience from a calm inlet to an open water body.
Practical summary
After returning, open all packs and dry the gear. Note which items you had to retrieve on the water; this will guide you in simplifying the next packing.
Next step: open the catalog of locations and rentals and the map of sites, to link the recommendations with a specific outing. Check current access to the chosen area before you go.